Django is a high-level Python web framework that simplifies the development of secure and maintainable websites.
Below is a step-by-step guide for beginners to help you install Django on your Windows, Mac, or Linux system.
Let’s get into it.
Table of Contents
- Prerequisites
- Step 1: Setup A Virtual Environment
- Activate Virtual Environment
- Step 2: Install Django
- Step 4: Start a New Django Project
- Step 4: Start the Development Server
- Common Commands
- Next Steps After Installing Django…
Prerequisites

Before installing Django, make sure you have Python installed on your system. Django supports Python versions 3.8 and above.
This guide will be using VS Code as the main editor, but feel free to use the one you like.
Another thing to keep in mind is that you need to install Django every time you start a new Django project.
Step 1: Setup A Virtual Environment
A virtual environment is a way to isolate your Python packages and dependencies from the rest of your system, it is simply a special folder where you install your Django project dependencies without having them recognised globally by your system, but by your project alone. This way, the different versions you might want to use in different projects will not enterefere.
Create Project Folder
Create a folder on your computer and open it with VS Code or any code editor of your choice.

In VS Code, open the terminal.

This way, the terminal will start already navigated to your project folder.

Alternatively, you can open your system terminal or command prompt and manually navigate to the project you created earlier.
Create Virtual Environment
In the terminal, run the following command:
python -m venv envThe -m flag means module, and the module we are talking about is venv. Venv is the default Python module for creating virtaul environments. We name the virtual environment env.
First, you should note that venv is not the only module for creating virtual environments, there are other like virtualenv and pipenv, but venv is the easiest to get started with and does not require any installation. Second, you can name your virtaul environment whatever you want, however, to make them recognisable, we usually use names like env, .env, venv, or .venv.
Activate Virtual Environment
Once you run this command, you should notice a folder inside your project called env, or whatever you called it.
Now let’s activate it:
Windows
.\env\Scripts\activatemacOS/Linux:
source env/bin/activateAfter you run this command, you should notice the name of your virtual environment in brackets at the start of each line:

This means that your virtual environment is now active and every command you run will only affect the folder.
This means that when we run the command to install django, it will be recognised only in this folder not globally. So let’s do that now.
Step 2: Install Django
With your virtual environment activated, install Django using pip:
pip install djangoThis will install the latest Django version.
Step 4: Start a New Django Project
Now we can create a new Django project inside our project folder.
django-admin startproject config .- The startproject command creates a folder that contains the main settings for your Django project. That is why we usually call it config
- Note the . (period) after config. This makes django create our config folder directly below our project folder.
Once you run the above command, you should see the config folder and a manage.py file in the folder with the virtual environment. The manage.py file is the one we will use to run most of our commands in Django.
One way to see if we have configured our project correctly is to run the server. So let’s do that now:
Step 4: Start the Development Server
Run the development server to ensure everything is set up correctly:
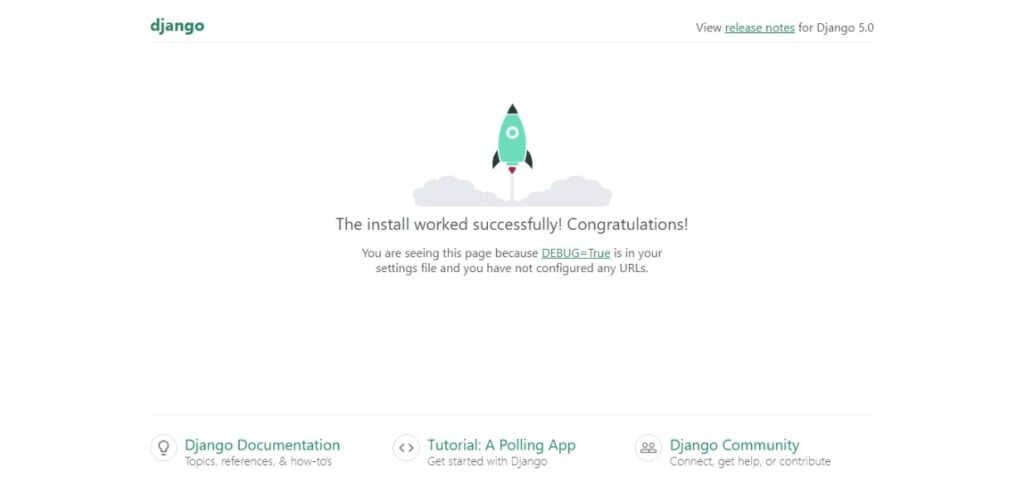
python manage.py runserverOpen a web browser and go to http://127.0.0.1:8000/. You should see the Django welcome page, indicating that the server is running successfully.

Congratulations, you have successfully installed Django and created a Django project.
Common Commands
Here are some useful commands for managing your Django project:
Creating a Django app:
an Django app is a directory dedicated to a specific set of functionalities.
python manage.py startapp appnameMaking migrations:
When you make models, you first need to prepare them for the database. This is called making migrations.
python manage.py makemigrationsApplying migrations:
Once the migrations are made, you migrate them to the database.
python manage.py migrateCreating a superuser:
You can also create a superuser to access the built-in admin interface:
python manage.py createsuperuserNext Steps After Installing Django…
Now what are the next steps.
You may need to find some guides on how to start a Django project or some best books to learn Django. Even some best Python books to brush up your python skills before you get deep into Django.
Let me know what you think about this post down in the comments section below. If you found it helpful, please share it with others that you think may need it. I’ll see you in other Coding Gear guides. Peace.