LearnPython has the Biggest Discount Ever! ------ Get $349 $129 Lifetime Access to all 13 Python Courses
How To Access The Django Admin.
The Django administration site is a wonderful feature unique to the web development framework. It’s one of the Django features that makes it stand out against other web development frameworks like Laravel. The admin allows you to interact with the models you have registered in the admin.py file. Django professionals can go away with using the shell to do that, but for a beginner, the admin is easier to use and can save a lot of time. If you’ve been wondering how you can access the Django admin, then this post is for you.
Table of Contents: Access Django Admin
- Step 1: Migrate the Built-in Models
- Step 2: Create a Superuser
- Step 3: Run the Django Development Server
- Step 4: Navigate to http://127.0.0.1:8000/admin/
- Step 5: Log In using your Superuser Credentials
Follow the steps below to access the Django Admin:
- Migrate the Built-in Models
- Create a Superuser
- Run the Django Development Server
- Navigate to http://127.0.0.1:8000/admin/
- Log In using your Superuser Credentials
Below are the steps in detail.
Step 1: Migrate the Built-in Models
Django comes with some apps and models already created for you. One such model is the User model which stores information about various users of your Django project, including the superuser. Before you can create a superuser, you have to migrate these models to the database so that they can start storing information in tables.
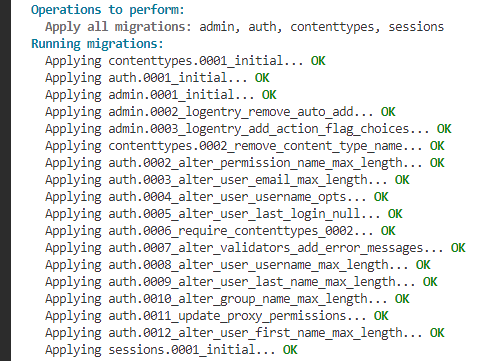
To migrate models to the database, run the following command in the terminal of your project:
(env) $ python manage.py migrateThe output should be like this:
Step 2: Create a Superuser
In Django, a superuser is a special type of user who has access to the admin panel and has all the permissions available.
To access the Django administration site, you have to create a superuser first. We do that using the superuser command.
In the terminal of your Django project, run the command as follows:
(env) $ python manage.py createsuperuserThis command will ask you to provide the username and email for the superuser and then a password that you have to repeat two times. You have to remember this information because you will use it to log in to the admin later.
Username:
Email:
Password:
Password (again):
The email is optional, if you do not want to provide it, just press enter on the email form.
If the superuser gets created, your terminal will print out the message ‘Superuser created successfully’.

Step 3: Run the Django Development Server
Now that the superuser has been created, we can now use its information to log in to the admin. But before we do that, we have to run the Django development server first. It allows us to access our project in real-time from the browser, including the admin site. We do that using the runserver command.
In the terminal of your project, run the command as follows:
(env) $ python manage.py runserverIf there are no errors in your project, the server should start running.
Step 4: Navigate to http://127.0.0.1:8000/admin/
When the server starts running, open your browser and navigate to http://127.0.0.1:8000/admin/. This URL is supposed to navigate us to the admin panel, but because we are not logged in to the admin, it will redirect us to the login page. After logging in, you will directly access the admin panel the next time you visit this link (unless you log out).
That login page itself has the URL http://127.0.0.1:8000/admin/login/?next=/admin/, which you can also use to navigate to the login page directly.
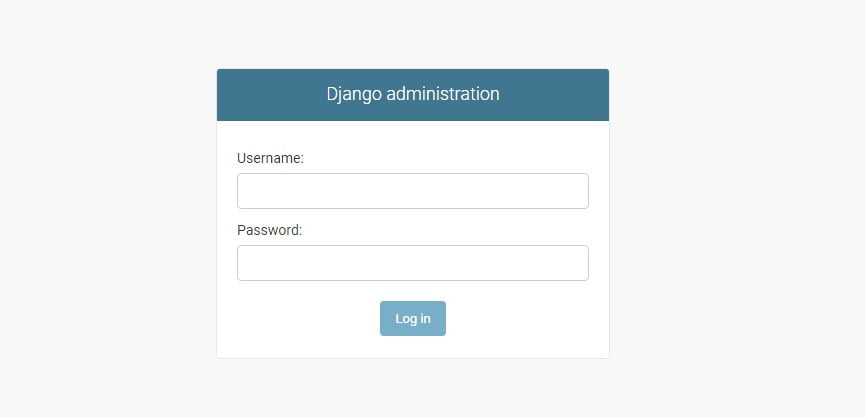
Step 5: Log In using your Superuser Credentials
Okay, we are now on the admin’s login page, do you still remember the username and password. Good, now type them in the form and click the Log In button. If you forgot your superuser password, check out some ways to reset the superuser password.
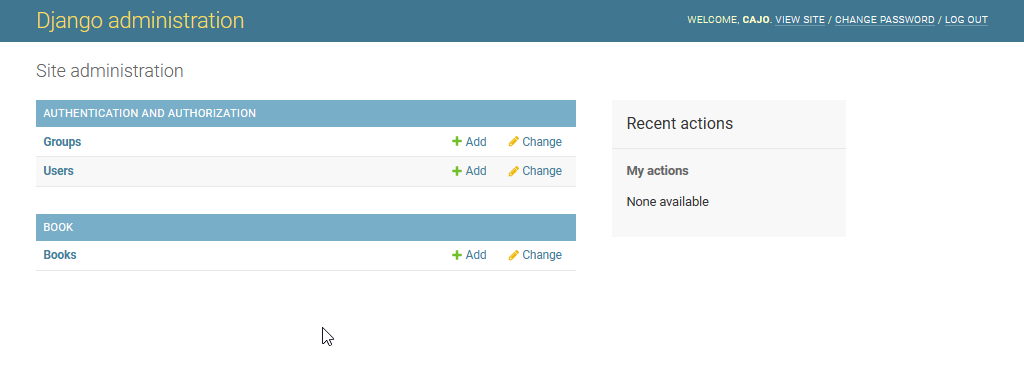
Tada! We have successfully accessed the Django admin. Now inside the administration site, you can do a lot of things and one of the most important is performing CRUD operations on your models data.
